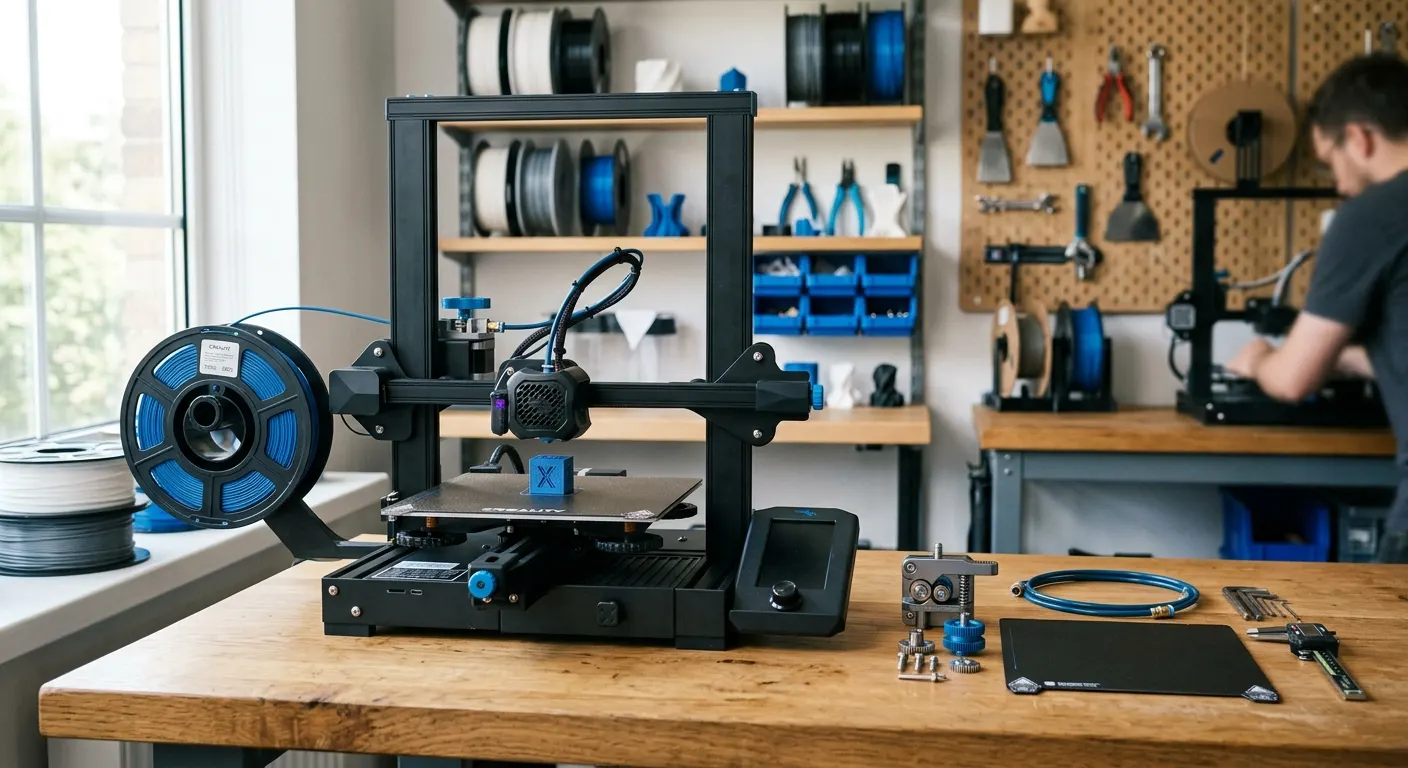
New 3D printer owners face an immediate accessories decision without the benefit of experience to calibrate it. The forums and subreddits surface dozens of potential upgrades before the first spool is even loaded. The reality: most printers leave the factory with the major hardware already working adequately. The accessories that matter most in the first 30 days are the ones that prevent the common early failure modes, moisture-damaged filament, failed first layers, and inadequate tools for print removal. This guide builds a prioritized first-30-days accessory list organized by what each addition actually solves.
Quick answer
In your first 30 days, buy a tool kit and calipers on day one, a PEI spring steel plate and 99 percent IPA for clean first layers in week one, and a SUNLU S2 dryer plus desiccant in week two. Ender 3 owners should add a CR Touch and Capricorn tube; Bambu owners can skip the AMS at first.
This guide contains affiliate links. LayerGrade may earn a commission at no cost to you.
Day one: the toolkit
Before the first print finishes, you need a way to remove it from the bed. The 3D Printer Tool Kit covers this with a spatula, flush cutters for support removal, hex keys for hardware adjustments, and tweezers for detail cleanup. Improvising with kitchen tools and scissors for print removal creates a real risk of gouging the build surface or damaging a print you have spent hours producing.
A Mitutoyo 500-196-30 Digital Caliper purchase on day one pays dividends from the first print that has a dimensional requirement. Verifying that printed holes match their CAD dimensions, that wall thicknesses are printing accurately, or that a printed enclosure fits around a target object requires measurement. The Mitutoyo 500-196-30 Digital Caliper you buy once should be a Mitutoyo 500-196-30, the reading consistency of a quality caliper eliminates a measurement variable that cheap calipers re-introduce.
Week one: build surface and bed cleaning
The stock build surface on most printers works for the first few prints but benefits from an early upgrade to PEI spring steel. For Bambu Lab users, the Bambu Lab Textured PEI Plate should be installed before the second print session. For Ender 3 and Prusa users, the Wham Bam PEI Spring Steel Sheet is the build plate that eliminates the adhesion inconsistency that plagues stock surfaces.
Establish a bed-cleaning habit with Amazon Basics Isopropyl Alcohol 99% from the first print. Clean the build surface with 99% IPA on a lint-free cloth before every print session. This single habit eliminates the most common cause of first-layer failures that new users spend hours troubleshooting through slicer settings when the actual problem is skin oil contamination.
If PETG is in your material plans, add Magigoo 3D Printer Bed Adhesion Stick to the initial order. PETG on smooth PEI can over-adhere and damage the surface when removed. Magigoo applied as a thin release layer before PETG prints prevents this without reducing adhesion during printing.
Week two: filament storage and drying
Most new printers come with a small sample spool that is already factory-dried. The first spool you buy and leave open in the printing area for more than a day or two in a humid environment will begin absorbing moisture. If your first filament purchase produces stringing that retraction tuning does not eliminate, moisture is the first variable to investigate.
The SUNLU FilaDryer S2 is the right first filament dryer purchase. At under $50, it is low-cost enough to use as a diagnostic tool: dry the suspect spool at the appropriate temperature, print a test piece, and verify whether print quality improves. If it does, moisture was the variable and the dryer has paid for itself in the first session.
For ongoing storage, Dry and Dry Rechargeable Silica Gel Desiccant in sealed containers or the printer's filament storage enclosure maintain low-humidity conditions between print sessions. The Govee Temperature and Humidity Monitor is the calibration tool that confirms whether your storage conditions are actually achieving the target humidity level.
For Ender 3 owners: the two hardware upgrades worth prioritizing
If your printer is a Creality Ender 3 in any variant (V2, Pro, S1, V3 SE), two hardware upgrades materially improve print reliability in the first month: auto bed leveling and, if you plan to print PETG or TPU, PTFE tube replacement.
The Creality CR Touch Auto Leveling Sensor eliminates the manual leveling process that causes most new Ender 3 users to abandon the printer after a few failed first layers. Install it before you invest time in slicer tuning, it removes the hardware variable from the first-layer equation so you can make meaningful slicer adjustments against a consistent baseline.
The Capricorn PTFE Bowden Tube is a 15-minute upgrade that costs under $15 and reduces the stringing that PETG and even PLA produce on stock Ender 3 Bowden setups. The tighter inner diameter reduces filament play during retraction. Install it alongside the CR Touch during the same maintenance session.
For Bambu Lab owners: what not to buy immediately
Bambu Lab printers are more complete out of the box than most FDM printers. Auto bed leveling, vibration compensation, and filament runout sensing are built in and functional from the first print. The upgrades that matter for Bambu users in the first 30 days are primarily consumable and surface upgrades, not hardware modifications.
Buy the Bambu Lab Textured PEI Plate and the Bambu Lab Hardened Steel Nozzle Kit before your first composite or carbon fiber spool. Consider the SUNLU FilaDryer S2 or SUNLU FilaDryer S4 based on how many filament types you plan to run. Hold off on the Bambu Lab AMS Lite until you have spent time printing single-material jobs and understand whether multi-material capability is part of your printing workflow.
The AMS upgrade is genuinely impressive but generates a learning curve around purge tower management and multi-material slicer settings. The first 30 days of printing are better spent learning the printer itself. Add the AMS once single-material printing is producing consistent results.
FAQ
Frequently asked questions
What should I buy in the first week with a new 3D printer?+
Start with the essentials that prevent early frustration: a basic tool kit for print removal and supports, 99 percent isopropyl alcohol for cleaning the bed, and a quality build plate if the stock surface is weak. Add digital calipers if you print functional parts. Hold off on advanced hardware until you understand what your printer actually needs.
Do I need a filament dryer right away?+
Not necessarily on day one, but it is the first thing to check if early prints string and retraction tuning does not help. An inexpensive single spool dryer doubles as a diagnostic: dry the suspect spool, print a test, and see if quality improves. In humid climates, plan on drying sooner, especially for PETG and TPU which absorb moisture fast.
What should Bambu Lab owners avoid buying right away?+
Hold off on the AMS at first. Bambu machines already include auto leveling, vibration compensation, and runout sensing, so the early wins are consumables: a textured PEI plate and a hardened nozzle before your first carbon fiber spool. The AMS is impressive but adds a purge tower and multi material learning curve better tackled after you master single material printing.