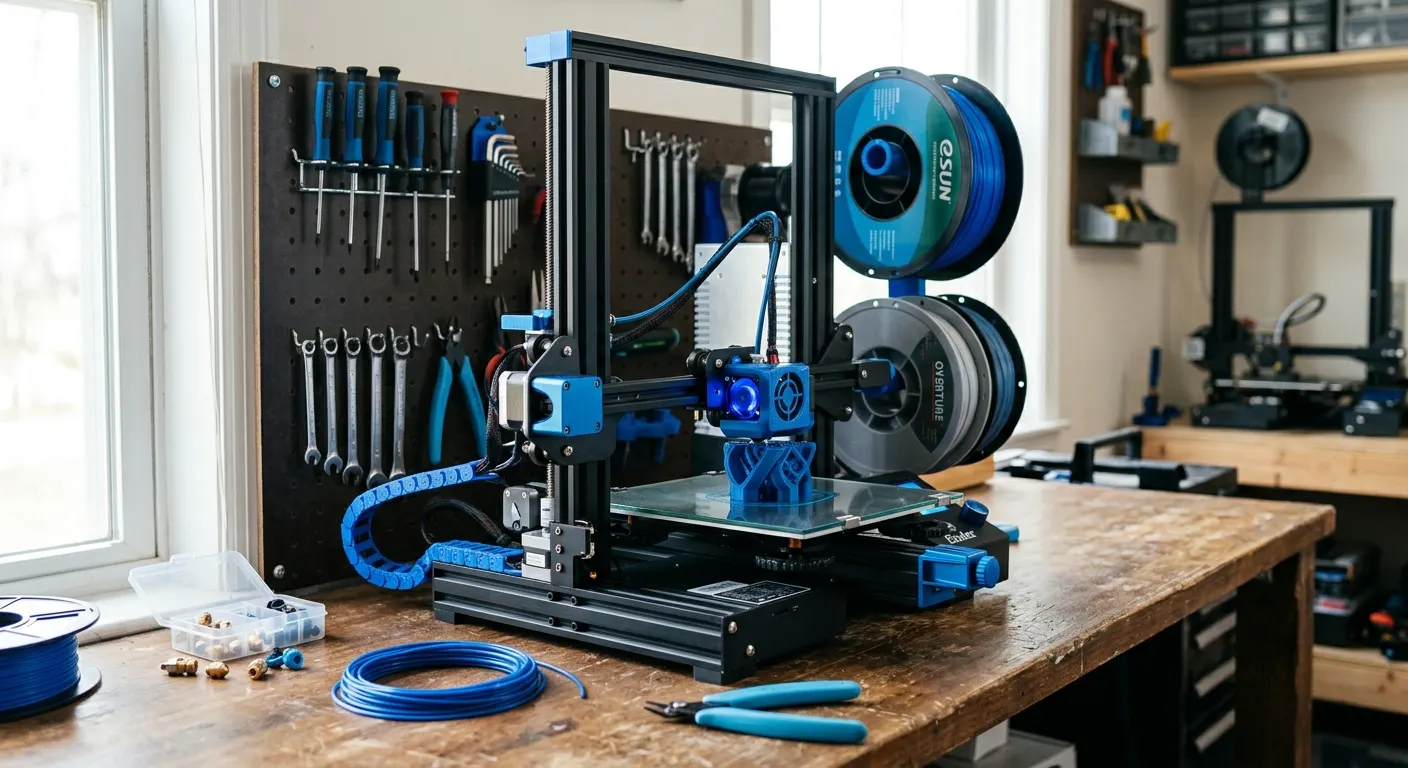
The Ender 3 is the most popular FDM printer in the world for a reason: it is affordable, tunable, and supported by an enormous community of documented modifications. The challenge for new Ender 3 owners is separating the upgrades that produce meaningful print quality improvements from the modifications that exist primarily as a hobby activity. This guide organizes the Ender 3 upgrade path into a logical sequence based on what each modification addresses, starting with the reliability improvements that prevent the most common failure modes and progressing to the hardware expansions that open new material capabilities.
Quick answer
Upgrade your Ender 3 in sequence. Install a CR Touch auto bed leveling probe first to kill failed first layers, then a Capricorn 1.9mm PTFE tube to cut stringing for about $10. Add a Sprite Pro direct-drive extruder for flexible filament, a PEI spring steel plate, and a hardened nozzle before abrasive filaments.
This guide contains affiliate links. LayerGrade may earn a commission at no cost to you.
First: auto bed leveling eliminates the most common failure mode
Manual bed leveling is the first thing that frustrates new Ender 3 users. The four-point paper-drag method works, but the bed shifts slightly between prints, ambient temperature changes affect bed flatness, and the spring-loaded leveling nuts drift over time. Most failed first layers on a stock Ender 3 trace back to leveling drift, not slicer settings.
The Creality CR Touch Auto Leveling Sensor is the auto bed leveling upgrade that should be installed before anything else on a stock Ender 3. It maps the actual bed surface geometry in a 4x4 or 5x5 grid before each print and compensates for bed tilt and surface variation in firmware. The metal probe pin in the CR Touch is more durable and consistent than the original BLTouch plastic probe, making it the recommended choice over the original BLTouch.
Installation requires flashing updated Marlin firmware to the Ender 3 mainboard. The Ender 3 community maintains pre-compiled firmware builds for every Ender 3 variant with CR Touch support. Choose the build matching your specific Ender 3 version, V2, Pro, S1, or V3 SE, and follow the flashing guide. The initial setup takes 30 to 60 minutes; subsequent prints benefit from automatic leveling compensation without any user action.
Second: upgrade the PTFE tube to Capricorn
The stock PTFE tube on Ender 3 Bowden setups has a 2.0mm inner diameter. Capricorn PTFE Bowden Tube has a tighter 1.9mm inner diameter that reduces the gap between the tube wall and the filament. This gap is responsible for the ooze and stringing that persists on Ender 3 printers even after retraction settings are dialed in, the filament has physical space to move backward into when retraction is applied, which then creates a pressure imbalance on the next forward extrusion.
Replacing the stock PTFE with Capricorn is a 15-minute procedure requiring only a tube cutter and the pneumatic fittings that come with the printer. The improvement in stringing reduction on PETG and PLA is noticeable on the first post-installation print. For a $10 upgrade, the return per dollar is among the highest of any Ender 3 modification.
The Capricorn upgrade is specific to Bowden extruder Ender 3 setups. If you install the Creality Sprite Pro Extruder direct-drive conversion, the long Bowden tube is eliminated and the Capricorn upgrade becomes irrelevant. Install Capricorn first if you want an immediate cheap improvement; install the Sprite Pro if you want the larger capability upgrade and are willing to spend more.
Third: the direct drive upgrade opens flexible filament
The Creality Sprite Pro Extruder converts the Ender 3 from a Bowden extruder setup to a direct-drive setup by moving the extruder motor directly onto the printhead. This is the single most capability-expanding hardware upgrade available for the Ender 3 platform.
The primary benefit is flexible filament support. TPU on a Bowden Ender 3 is technically possible but practically unreliable, the filament buckles inside the long Bowden tube during retractions and produces inconsistent extrusion. With the Sprite Pro direct-drive extruder, the filament path from extruder to nozzle is short and controlled. Overture TPU 95A Flexible Filament prints reliably on a Sprite Pro Ender 3 at standard TPU settings without the grinding and buckling that defeats most stock Bowden attempts.
The trade-off is printhead mass. A heavier printhead requires slower print speeds to avoid the ringing artifacts caused by printhead inertia at speed changes. Reduce print speed by 20 to 30 percent after installing the Sprite Pro and re-tune input shaping if your firmware supports it. The quality improvement from direct drive at slightly reduced speed is worthwhile for most Ender 3 users who want flexible filament capability.
Build plate upgrade: replace the stock surface
The stock Ender 3 build surface, typically a spring-steel sheet with a textured coating or a glass plate, works adequately at the start but degrades with use. The coating wears, first-layer adhesion becomes inconsistent, and the texture eventually creates surface artifacts on printed first layers.
The Wham Bam PEI Spring Steel Sheet in the 235x235mm size is the replacement surface that most Ender 3 users end up with after trying alternatives. The flexible spring steel sheet mounts on a magnetic base, PEI coating provides strong adhesion at 60 degrees Celsius bed temperature for PLA, and prints release with a gentle flex when the plate cools. No glue stick, no hairspray, no spatula required for most materials.
For users who print PETG and find it adhering too aggressively to smooth PEI, a thin layer of Magigoo 3D Printer Bed Adhesion Stick on the PEI surface acts as a release agent that prevents over-adhesion without reducing first-layer grip during printing. This is the PETG adhesion workflow that produces clean releases without damaging the PEI surface.
Nozzle upgrades: when to switch from brass
The stock MK8 brass nozzle in the Ender 3 is the correct choice for standard PLA, PETG, and non-abrasive filaments. Maintain a stock of Creality MK8 Brass Nozzle Pack spares and replace when print quality degrades or when a clog requires cleaning. Brass nozzles are cheap enough that replacement is the right response to minor wear rather than attempting deep cleaning.
When printing carbon fiber, glass fiber, glow-in-the-dark, or metallic filament on the Ender 3, switch to a BIGTREETECH Hardened Steel Nozzle before the first spool. Abrasive particles in these filaments visibly enlarge the brass bore within 100 to 200 grams of printing. The BTT hardened nozzle in MK8 thread fits the Ender 3 hotend directly and requires only a 5 to 10 degree Celsius print temperature increase to compensate for steel's lower thermal conductivity.
If you upgrade to the Sprite Pro extruder, note that it uses a different nozzle thread than the stock Ender 3 hotend. Sprite Pro uses a V6-compatible nozzle thread. Verify the correct thread type before ordering replacement nozzles.
Filament storage and drying for Ender 3 users
Ender 3 users in humid climates frequently attribute print problems to hardware or slicer settings when the root cause is moisture-laden filament. PETG and TPU in an open workshop environment can absorb enough moisture in 24 hours to produce visible stringing and surface bubbling. The SUNLU FilaDryer S2 is the right diagnostic tool and ongoing solution: dry the spool at 60 degrees for four hours and print a test piece to determine whether moisture was the variable.
For storage between print sessions, PrintDry Filament Container with Desiccant containers with Dry and Dry Rechargeable Silica Gel Desiccant keep dried filament moisture-free. The Govee Temperature and Humidity Monitor placed inside a storage cabinet lets you verify that the desiccant is maintaining the target humidity level rather than assuming it is.
FAQ
Frequently asked questions
What is the single best first upgrade for an Ender 3?+
Auto bed leveling such as a CR Touch. Manual four point leveling drifts between prints and causes most of the failed first layers that frustrate new owners. A probe maps the bed and compensates in firmware before each print. Install it before spending hours on slicer settings, since it removes the biggest hardware variable from the first layer.
Why does my Ender 3 still string after I tune retraction?+
The stock 2.0mm Bowden tube lets filament wander during retraction, which keeps ooze going no matter how you tune. A tighter 1.9mm tube reduces that play and is a cheap fix. Combine it with dry filament and dialed in retraction. If you later convert to direct drive, the long Bowden tube is removed and the problem mostly goes away.
When should I switch from a brass nozzle to hardened steel on my Ender 3?+
Keep brass for standard PLA and PETG, where its better heat transfer gives clean flow, and just keep spares for clogs and wear. Switch to hardened steel before your first abrasive spool: carbon fiber, glass fiber, glow in the dark, or metal fill. Those wear brass within a few hundred grams. Raise temperature about 5 to 10 degrees Celsius for steel.