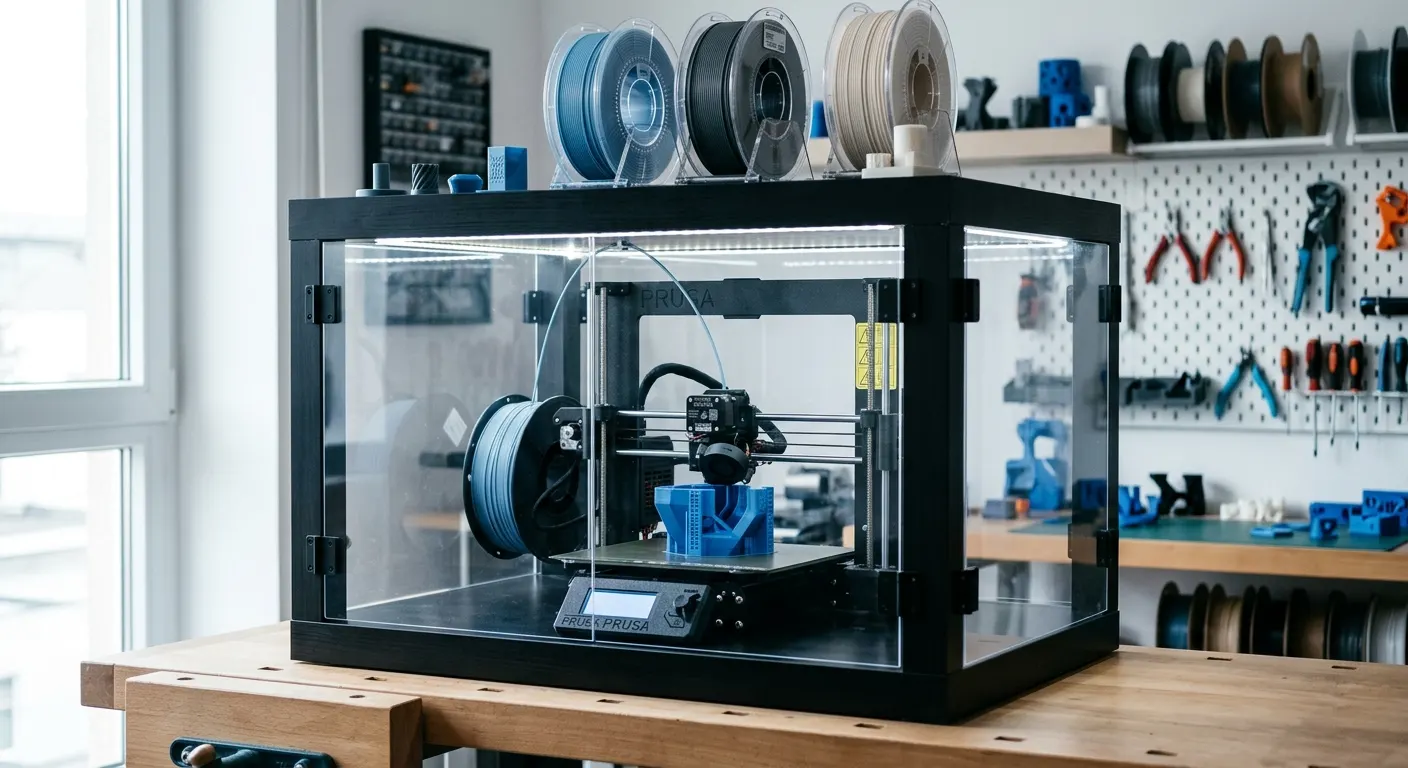
An open-frame printer in a living space has two problems: drafts that wreck ABS and ASA prints, and fumes and noise that the household has to live with. A commercial enclosure solves both at commercial prices. The IKEA Lack enclosure, two cheap side tables stacked with acrylic panels and printed brackets, has been the community's answer for years because it costs a fraction as much and fits mid-size printers like the Ender 3 almost perfectly. This guide walks the build in order, covers the hardware that is easier to buy than print, and adds the temperature and safety monitoring that an enclosed printer deserves.
Quick answer
Build the enclosure from two IKEA Lack tables stacked with brackets, acrylic side panels, and a hinged front door. A hardware kit supplies the brackets and panels, so you do not need an enclosed printer to print them. Keep the chamber passively heated around 35 to 45 degrees Celsius for ABS and ASA, and add smoke detection.
This guide contains affiliate links. LayerGrade may earn a commission at no cost to you.
Why enclose an open-frame printer
Warping materials are the main reason. ABS and ASA shrink as they cool, and in open air the draft across the bed cools the part unevenly, lifting corners and splitting layers. An enclosure traps the bed's own heat into a stable 35 to 45 degree Celsius chamber, which is enough for most ABS parts to print flat without any active heater. PETG also benefits on tall prints, and even PLA gains consistency in a drafty room.
The secondary wins matter in a shared home: an enclosure knocks down fan and stepper noise noticeably, keeps dust and curious pets off the moving printer, and contains odor from styrene-emitting materials so you can vent or filter it deliberately instead of into the room. If your printer lives anywhere people also live, the enclosure is as much a quality-of-life upgrade as a print-quality one.
Parts list: two tables and one kit
The core of the build is two IKEA Lack side tables, chosen because the gap between the legs clears an Ender 3's frame and the tables are famously cheap. On top of that you need corner brackets to stack and align the tables, acrylic or polycarbonate panels for three sides, a hinged front panel for access, and leg extensions if your printer's gantry needs extra height. The classic design prints all the brackets, but that is a chicken-and-egg problem: the brackets are best printed in ABS or PETG, which is exactly what you struggle to print without an enclosure.
An Enclosure Hardware Kit for IKEA Lack Table kit breaks that loop by supplying the connectors and panel hardware ready-made, so the first enclosure does not depend on the printer it is meant to improve. Add a Govee Temperature and Humidity Monitor for the chamber and you have the full bill of materials. Budget an afternoon for assembly and check the community files for your exact printer model, since variations exist for taller gantries and direct-drive conversions.
Assembly order and the details that matter
Assemble both tables first, then decide the stack: the printer sits on the lower table's top, the upper table forms the roof, and the upper table's legs become the corner posts that carry the panels. Fit the corner brackets to lock the two tables square before any panels go on, because a racked frame means panel gaps you cannot shim away later. Mount the side and rear panels next, leave the front for last, and hang the front panel on its hinges so it swings clear of the bed for part removal.
Three details separate a good build from a frustrating one. First, route the filament path: a top-mounted spool with a guide keeps filament from rubbing the panels, or feed from an external dryer through a small grommet. Second, electronics placement: the printer's power supply and mainboard ideally live outside the heated chamber, and many builds relocate the PSU below the lower table, because the heat that helps ABS shortens electronics life. Third, cable discipline: leave a service loop so the bed and head move freely at full travel before you seal anything. The hex keys and side cutters in a 3D Printer Tool Kit cover the whole assembly.
Temperature, fumes, and running it safely
For ABS and ASA the goal is a stable warm chamber, not an oven. The bed alone usually brings a sealed Lack enclosure to 35 to 45 degrees Celsius, which is the sweet spot; much hotter and you risk heat-creep clogs in the extruder and softened printed brackets. Park a Govee Temperature and Humidity Monitor inside at bed height so you know the real number instead of guessing, and crack the front panel for PLA, which actually prefers cooler air around the part.
Treat safety as part of the build, not an afterthought. An enclosure concentrates heat and fumes around a machine that runs unattended for hours, so put a smoke detector above the enclosure, keep the chamber clear of filament boxes and solvents, and inspect bed and hotend wiring whenever you relocate anything. Styrene from ABS and ASA should be vented toward a window or through an activated-carbon filter rather than into the room. The principles from our fire safety guide apply doubly to an enclosed machine: detection above the printer, clean wiring, and no flammables inside the chamber.
FAQ
Frequently asked questions
Will an Ender 3 fit inside an IKEA Lack enclosure?+
Yes, the Ender 3 family is the printer the design became famous for. The stock gantry clears the leg gap, though tall variants or machines with top-mounted spools need leg extensions on the upper table. Measure your printer's full travel height including the gantry top and any spool holder before building, and check the community files for your exact model.
Do I need a heater inside the enclosure for ABS?+
Usually not. A sealed Lack enclosure passively reaches roughly 35 to 45 degrees Celsius from the heated bed alone, which is enough for most ABS and ASA parts to print without warping. Active heaters add fire risk and can push the extruder into heat-creep clogs. If large ABS parts still split layers, improve sealing and draft-proofing before adding heat.
Should I print PLA with the enclosure closed?+
Crack the door or remove a panel for PLA. It likes cool air for overhangs and bridging, and a warm chamber can cause heat creep in the extruder and soft, drooping details. The enclosure still helps with noise, dust, and drafts even partially open. Close it fully only for warping materials like ABS, ASA, and to a lesser extent PETG.
How do I deal with ABS fumes in an enclosed printer?+
The enclosure contains the styrene odor, but containment is not removal. Vent the chamber toward a window with a small duct or fan, or fit an activated-carbon filter, and keep the printer out of bedrooms regardless. Run the exhaust gently so you do not pull the chamber temperature down. Pair this with a smoke detector above the enclosure for unattended prints.