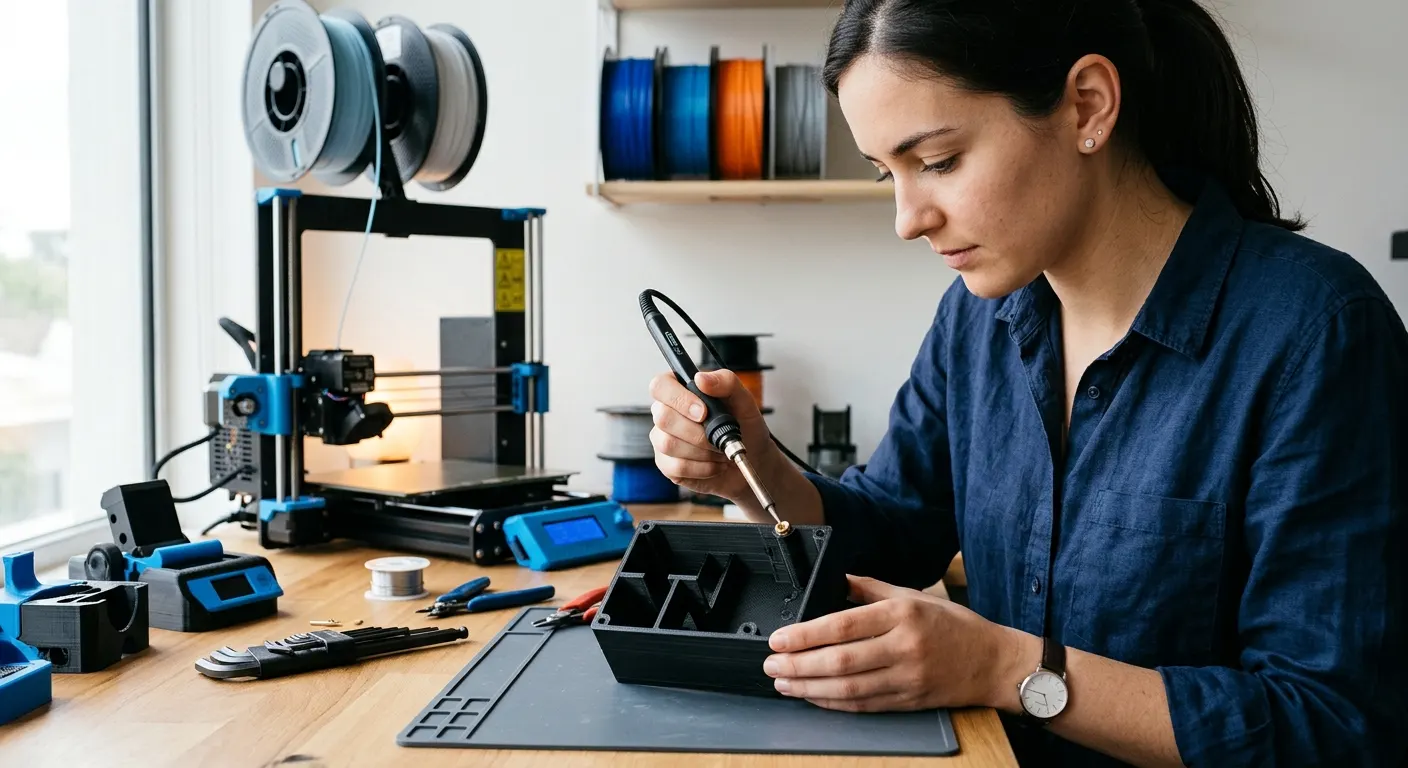
Threading a machine screw directly into plastic works exactly until it does not. Printed threads strip after a few assembly cycles, and once they go, the part is scrap. Heat-set brass inserts solve this permanently: a knurled brass sleeve melts into a printed hole and leaves a real metal thread that survives repeated tightening. They are the single upgrade that turns printed brackets, enclosures, and fixtures into hardware you can actually service. Installation takes seconds per insert with a soldering iron, but getting clean, square, flush inserts depends on hole design and technique. This guide covers both.
Quick answer
Install heat-set inserts by designing the hole 0.1 to 0.2 mm smaller than the insert's outer diameter and 1.5 mm deeper than its length, heating the insert with a soldering iron at roughly 230 to 250 degrees Celsius for PLA or 260 for PETG, and pressing it in slowly until flush. An M2, M3, and M4 kit covers most prints.
This guide contains affiliate links. LayerGrade may earn a commission at no cost to you.
Why inserts beat printed threads and captive nuts
A thread cut or printed directly into plastic concentrates all the clamping load on a few fragile plastic crests. It strips quickly, especially across layer lines, and over-torquing it once is usually fatal. Captive hex nuts are stronger but need a pocket designed into the model, often a print pause to drop the nut in, and they can rotate or fall out during assembly. Heat-set inserts give you the strength of a metal thread with none of that: the knurled outer surface fuses into the surrounding plastic as it cools, so the insert resists both pull-out and rotation.
A Heat-Set Brass Insert Kit in M2, M3, and M4 covers the fastener sizes that the overwhelming majority of functional prints use, from electronics enclosures to printer mods and brackets. The inserts themselves cost pennies each, and the only tool required is a soldering iron most tinkerers already own. If you print anything that gets screwed together more than once, this is among the cheapest capability upgrades in the hobby.
Designing the hole: diameter, depth, and wall thickness
Insert installation is decided at the design stage. The hole should be 0.1 to 0.2 mm smaller in diameter than the insert's nominal outer diameter, so the knurls have plastic to bite into without splitting the boss. Make the hole at least 1.5 to 2 mm deeper than the insert is long, which gives displaced molten plastic somewhere to go instead of squeezing up around the rim. Keep at least 2 mm of wall thickness around the insert, and add a small chamfer at the hole mouth to guide the insert in square.
Verify your printed hole before heating anything. Printers typically print holes slightly undersized, so measure the actual opening with Mitutoyo 500-196-30 Digital Caliper and compare it against the insert's spec. If the insert drops in loosely cold, the hole is too big and the bond will be weak; if it will not even start by hand, ream the chamfer slightly rather than forcing it. Material matters too: PETG and ABS take inserts beautifully, and a tougher PLA like Polymaker PolyMax PLA holds inserts better than brittle budget spools.
Installation technique that keeps inserts square
Set a soldering iron to roughly 230 to 250 degrees Celsius for PLA, 250 to 270 for PETG and ABS. Place the insert on the hole, rest the iron tip in the insert's bore, and let the heat do the work: the insert should sink under light pressure, not be forced. Press slowly and vertically, watching that the insert stays square to the surface, and stop when it sits flush or a hair below. Remove the iron straight up with a slight twist and do not touch the insert until it cools, because the plastic around it stays soft for several seconds.
The two common failures are crooked inserts and overheated bosses. A crooked insert means the screw enters at an angle and side-loads the joint; if it starts tilting, reheat gently and correct while soft. Overheating melts a wide sleeve of plastic and leaves the insert loose when it cools, so use the minimum temperature that lets the insert sink smoothly. The hex drivers in a 3D Printer Tool Kit handle test-fitting screws afterward, and a flat surface pressed on top of the cooling insert keeps it perfectly flush.
Where inserts pay off on the printer itself
Your printer is the first customer for this technique. Printed mods like fan ducts, camera mounts, cable-chain anchors, and enclosure brackets all get assembled and disassembled during tuning, exactly the duty cycle that destroys plastic threads. Putting inserts in those parts the first time means you never reprint a bracket because a thread stripped during a nozzle swap.
Inserts also unlock better part design. Lids that screw down flat, electronics cases with serviceable boards, and jigs that clamp with real torque all depend on threads that survive. Once the kit is on your bench, you will find that designing an insert boss becomes as automatic as adding a chamfer, and your functional prints stop being disposable.
FAQ
Frequently asked questions
What size hole do I need for a heat-set insert?+
Design the hole 0.1 to 0.2 mm smaller than the insert's outer diameter so the knurls have plastic to grip, and make it at least 1.5 mm deeper than the insert so displaced plastic has somewhere to go. Insert suppliers publish the exact recommended hole diameter per size; when in doubt, print a small test coupon with a few candidate diameters and pick the one that starts by hand but does not drop in.
Can I install heat-set inserts without a special tip?+
Yes. A standard conical or flat soldering iron tip works fine for occasional use; rest it inside the insert's bore and press gently. Dedicated heat-set tips keep the insert centered and square automatically, which is worth it if you install dozens at a time, but technique matters more than the tip. Keep the pressure light, vertical, and slow.
Do heat-set inserts work in PLA, or only PETG and ABS?+
They work well in all three. PLA's lower glass transition means you install at a lower iron temperature, around 230 to 250 degrees Celsius, and PLA parts in hot environments like a car interior can soften enough for inserts to creep under load. For parts that see heat or sustained clamping force, PETG, ABS, or a tough PLA holds inserts more reliably.
Why did my insert come out loose or crooked?+
Loose inserts usually mean the hole was oversized or the iron was too hot, melting a wide sleeve of plastic that shrank away from the knurls as it cooled. Crooked inserts come from pressing too fast or off-axis. Reheat a crooked insert gently and straighten it while the plastic is soft. For a loose one, the recoverable fix is stepping up one insert size if wall thickness allows.