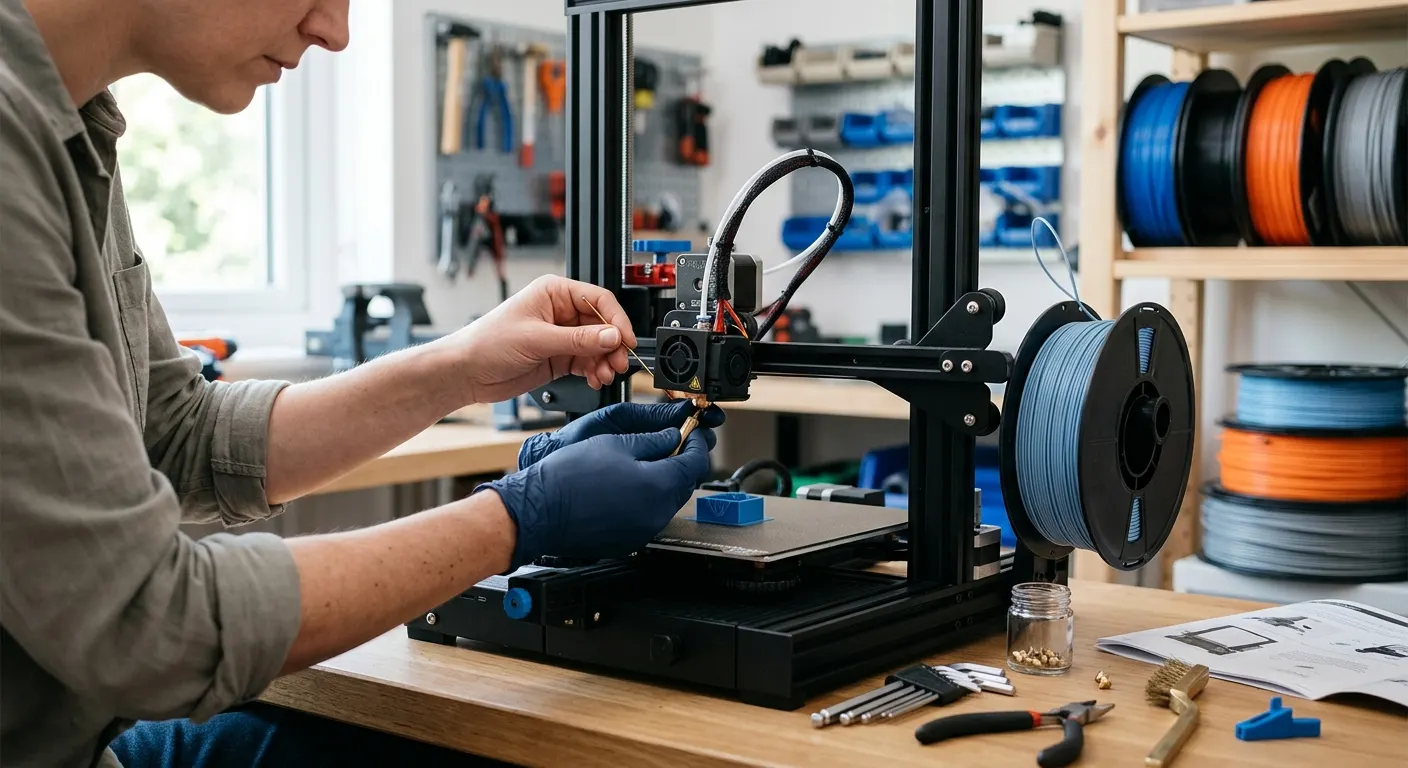
A clogged nozzle produces a recognizable set of symptoms: extrusion that starts then stops mid-print, a ticking or clicking extruder skipping steps, under-extrusion that thins walls, or no flow at all from a hot nozzle. Most clogs are not catastrophic. A partial clog from carbonized filament or a foreign particle clears with a cold pull or a short manual purge, and a hardened brass nozzle that has worn open is a few-dollar replacement rather than a repair. The goal of this guide is a repeatable diagnostic and clearing procedure, followed by the prevention habits that keep the nozzle flowing cleanly across hundreds of prints.
Quick answer
Heat the nozzle to printing temperature, push filament through by hand, and if it will not flow, do a cold pull to lift out the blockage. A needle or fine pick clears a partial jam from below. If the bore has worn open from abrasive filament, replace the nozzle. Prevent clogs by drying filament and cleaning the bore.
This guide contains affiliate links. LayerGrade may earn a commission at no cost to you.
Diagnose first: nozzle clog or heat-break jam
Before clearing anything, determine where the blockage sits. A true nozzle clog blocks flow at the tip while the hot end is at temperature. A heat-break jam sits higher up, where the filament softens and swells above the melt zone, and it presents differently: the extruder skips, but the issue often traces to cooling problems or printing a high-temperature material in a hotend that is not rated for it.
Heat the nozzle to the normal print temperature for your loaded filament and try to push filament through by hand with the extruder idler released. If filament flows with firm hand pressure, the clog is partial and a cold pull will likely clear it. If nothing moves under hand pressure, the blockage is more complete and may need a needle from below or a nozzle swap.
If the loaded material is ABS, ASA, PA, or PC and the jam keeps recurring, the stock lined hotend may be the limiting factor rather than a clog. The PTFE liner in a standard hotend degrades above roughly 240 to 250 degrees Celsius, and on a Bambu machine the BIGTREETECH Panda Revo Hotend replaces it with an all-metal heat block that removes that ceiling. Diagnose the material question before repeatedly clearing the same jam.
The cold pull: the first clearing technique to try
A cold pull, sometimes called an atomic pull, drags the clog out of the nozzle attached to a plug of cooled filament. It is the highest-success, lowest-risk first technique for a partial clog. Nylon and the cleaning filaments sold for this purpose work best because they grip carbonized debris well, but PLA works in a pinch on hotends rated for it.
Heat the hotend, push a length of filament through until it extrudes cleanly, then let the hotend cool to the point where the filament inside is solid but the plug can still be pulled free. For PLA that is around 90 degrees Celsius; for nylon-based cleaning filament it is higher. Pull the filament out with a steady firm motion. The tip should come out shaped like the inside of the nozzle, often carrying a fleck of darker carbonized material. Repeat until the pulled tip is clean.
A 3D Printer Tool Kit covers the hand tools the procedure needs: the needle-nose pick for clearing the bore from below, flush cutters to trim the filament, and the hex keys to release or reseat the nozzle if you decide to remove it. On a Bambu printer, the Bambu Lab Hardened Steel Nozzle Kit ships with the matching nozzle cleaning tool for cold-pull work on that hardware.
Clearing a stubborn clog from below
If a cold pull does not restore full flow, clear the nozzle orifice directly. With the nozzle at print temperature, insert a fine cleaning needle or the pick from your 3D Printer Tool Kit into the orifice from below to break up the blockage, then immediately purge fresh filament to flush the loosened debris out. Use a needle sized at or under the nozzle diameter so you do not enlarge a 0.4mm bore.
If the needle and a fresh purge still do not give consistent flow, the nozzle itself is the most efficient thing to replace. Brass nozzles are cheap enough that swapping is the correct response to a persistent partial clog rather than fighting it. Keep a stock of Creality MK8 Brass Nozzle Pack spares for MK8-threaded Creality hotends so a clog never costs more than a few minutes and a few cents.
Frequent clogs that return within a spool or two often point to a worn bore rather than debris. Abrasive carbon fiber and glass fiber filament strip brass and enlarge the orifice, which shows up as over-extrusion and dimensional drift that looks like a clog but is actually wear. If you print abrasive materials, move to a BIGTREETECH Hardened Steel Nozzle , which resists the particles that degrade brass within a few hundred grams.
Prevention: the two habits that stop most clogs
The two largest causes of recurring clogs are wet filament and bed-gap problems on the first layer, and both are preventable. Moisture in the filament flashes to steam in the melt zone, leaving voids and carbonized residue that accumulate into a clog over time. Dry moisture-prone filament before printing: a SUNLU FilaDryer S2 at the correct temperature for your material removes the absorbed water that causes the popping and inconsistent flow that precede many jams.
Keep dried filament dry between sessions with Dry and Dry Rechargeable Silica Gel Desiccant in sealed storage, and verify your storage conditions with a Govee Temperature and Humidity Monitor rather than assuming the desiccant is keeping pace. PETG and TPU in particular reabsorb moisture within hours in a humid room, so storage discipline matters as much as the initial drying.
The other habit is heat-creep control. A clog that forms only on the first layer or right after a long retraction often comes from a printhead fan that is not cooling the heat break, which lets filament soften and jam above the nozzle. Confirm the part-cooling and hotend fans both spin at the start of every print, and keep the print temperature no higher than the filament needs. Cleaner thermal behavior prevents the carbonization that seeds future clogs.
FAQ
Frequently asked questions
How do I know if my nozzle is clogged or just out of filament?+
Heat the hotend to print temperature and try to push filament through by hand with the idler released. If nothing extrudes from a hot, loaded nozzle, it is clogged. If the extruder gear is grinding or skipping but filament is present and the nozzle is hot, that is also a clog signature. An empty path or a stripped spool feeds with no resistance and no flow.
Will a cold pull damage my hotend?+
No, when done within the right temperature window. The risk is pulling too hard while the filament is still molten, which can move the heat break, or letting it cool too far so the plug will not budge. Stay near the pull temperature for your material, around 90 degrees Celsius for PLA, and use a steady firm motion rather than a violent yank.
Why does my nozzle keep clogging on the same filament?+
Recurring clogs on one filament usually mean moisture or a worn bore. Wet filament leaves carbonized residue that builds into a jam, so dry the spool first. If the filament is abrasive carbon fiber or glass fiber, the brass bore may be worn open, which mimics a clog through over-extrusion. Switch to a hardened steel nozzle for abrasive materials.