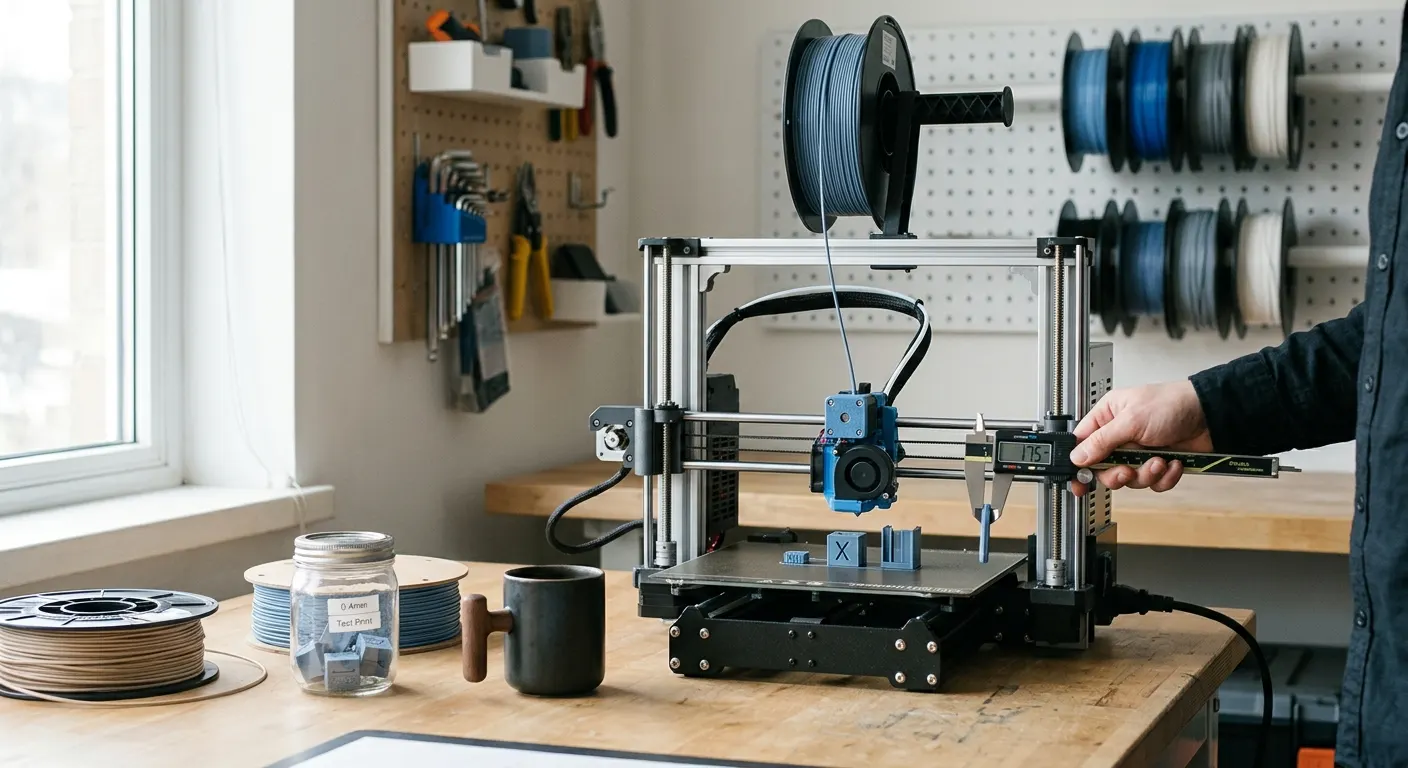
Every spool is a little different, even within the same material. Brand to brand, and sometimes color to color, the ideal temperature, flow, and retraction shift, which is why a profile that is perfect for one filament can string, under-extrude, or warp with the next. Calibrating a new spool takes about half an hour and turns guesswork into a known-good profile you save and reuse. This guide gives you a repeatable order to work through, with the tools that make each step accurate.
Quick answer
Calibrate a new filament in order: run a temperature tower to find the best print temperature, calibrate flow rate with a single-wall cube and calipers, then tune retraction with a stringing test, and confirm first-layer adhesion. Save the result as a per-filament profile. This prevents the stringing and warping that come from reusing another filament's settings.
This guide contains affiliate links. LayerGrade may earn a commission at no cost to you.
Why every spool needs its own profile
Filament is not interchangeable. Two spools of PLA from different brands can want print temperatures 15 degrees apart, and PETG, TPU, and ABS each have their own windows. Diameter tolerance, additives, and colorants all shift the ideal settings. When you load a new spool and print it on the last filament's profile, the mismatch shows up as stringing, gaps, poor layer bonding, or lifting corners, and you end up chasing symptoms that a quick calibration would have prevented.
Calibrating once per spool and saving the result as a named profile is the fix. It takes about thirty minutes and pays off across every print that spool produces. Dry the filament first if it has been open or is moisture-prone, because a wet spool will sabotage the calibration by adding stringing and rough flow that are not really settings problems. Start from dry, then work the steps below in order.
Step one: temperature tower
Temperature is the foundation, so set it first. A temperature tower prints the same shape at descending temperatures in stacked bands, letting you see which temperature gives clean layers, strong bonding, and the least stringing for this specific spool. Most slicers can generate one, or you can download a model and use the temperature-change script. Pick the band that looks best, not the hottest or the coolest, and that becomes your print temperature.
Judge the tower on real criteria: smooth surfaces, no visible gaps between layers, bridges that hold, and minimal wisps. If two adjacent bands look equally good, choose the lower one, since cooler tends to string less and overhangs cool faster. Write the winning temperature down. Everything after this step assumes you are printing at the temperature the tower selected.
Step two: flow rate with calipers
Flow rate, also called the extrusion multiplier, decides how much plastic actually comes out for a given commanded amount. Calibrate it by printing a single-wall cube at your chosen temperature, then measuring the wall thickness with Mitutoyo 500-196-30 Digital Caliper and comparing it to your nozzle width. For a 0.4 mm nozzle the wall should measure about 0.4 mm; if it reads high you are over-extruding, if low you are under-extruding. Adjust the flow rate and reprint until it matches.
Accuracy matters here, which is why a quality caliper earns its place. A reading that drifts between measurements makes the calibration meaningless, so a consistent caliper like the Mitutoyo is worth it for anyone tuning functional parts. Do this per filament: the value that is perfect for one brand of PLA will usually be slightly off for a PETG or a different PLA, so flow is one of the settings that genuinely changes spool to spool.
Step three: retraction and a stringing test
With temperature and flow set, tune retraction to eliminate stringing. Print a stringing test, two towers with a gap, and adjust retraction distance and speed until the gap comes out clean. Direct-drive setups typically need 0.5 to 2 mm of retraction, Bowden setups 4 to 6 mm. Change one variable at a time and reprint, stopping when stringing disappears rather than when it merely improves. Keep a 3D Printer Tool Kit nearby for the nozzle wipes and small adjustments this step involves.
Remember that the tower already minimized temperature-driven stringing, so retraction is the second lever, not the first. If stringing resists all retraction tuning, the usual hidden cause is moisture, so re-check that the spool is dry before pushing retraction values to extremes. Abrasive filaments add a wrinkle: they wear brass nozzles into an out-of-round opening that degrades calibration over time, so a BIGTREETECH Hardened Steel Nozzle keeps the geometry stable if you print carbon-fiber or glow-in-the-dark materials.
Step four: first-layer adhesion
A calibrated filament still needs to stick. Confirm your first-layer height and bed temperature for this material, and add an adhesion aid where the surface needs it. The Magigoo 3D Printer Bed Adhesion Stick grips firmly when the bed is hot and releases when it cools, which solves both the parts that will not stick and, on smooth PEI, the PETG that sticks too well and tears the plate. It is the targeted fix when a material and surface do not get along.
Once the first layer is dialed and the print pops off cleanly when cool, you are done. Save everything as a named per-filament profile in your slicer: temperature, flow, retraction, and any adhesion notes. Next time you load that spool, you load the profile and print, with none of the symptom-chasing that comes from reusing another filament's settings.
FAQ
Frequently asked questions
Do I need to calibrate every new spool of filament?+
For best results, yes, at least the temperature and flow. Brands and even colors differ in ideal temperature, diameter tolerance, and additives, so reusing another filament's profile causes stringing, under-extrusion, or warping. A full calibration takes about thirty minutes per spool and produces a saved profile you reload every time, which is faster than chasing symptoms later.
What order should I calibrate filament settings in?+
Temperature first with a temperature tower, then flow rate measured against a single-wall cube with calipers, then retraction with a stringing test, and finally first-layer adhesion. Temperature is the foundation that affects everything after it, so setting it first keeps the later steps from compensating for a bad temperature. Dry the spool before you start.
Why is my new filament stringing even after I calibrated it?+
The most common hidden cause is moisture. If retraction tuning does not stop stringing, re-dry the spool before pushing retraction values to extremes, since wet filament steams in the hotend and oozes regardless of settings. Also confirm your temperature tower picked a low enough band, since printing too hot strings more on most materials.